
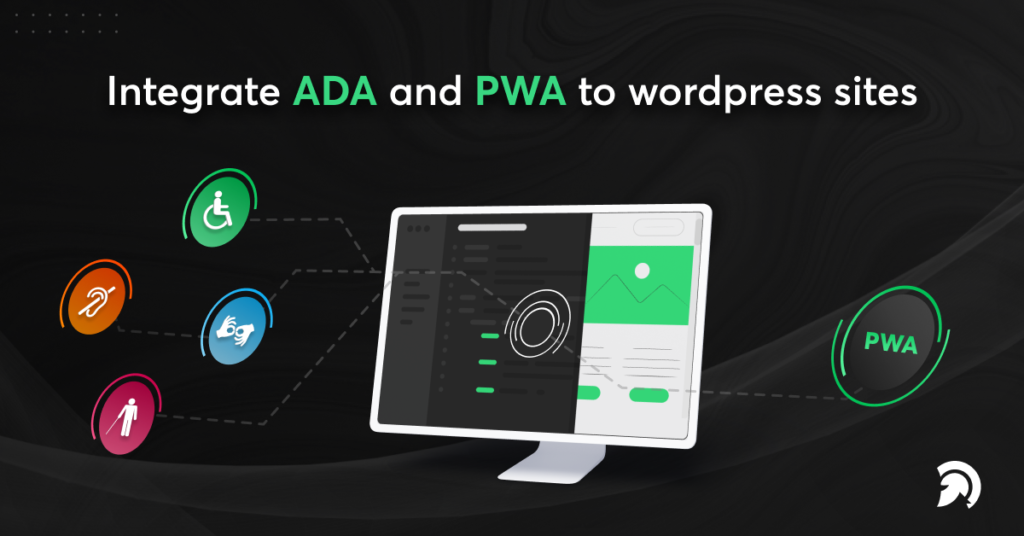
Suppose you’re considering switching to WordPress or launching a new WordPress site. It is ideal for building an ADA-compliant WordPress website and converting it to a PWA (progressive web app). One of the most recent website development trends is progressive web applications (PWAs). It’s like developing an app for your website without having to build one. Progressive web apps allow your website to appear on users’ mobile similarly as a native app would.
Your website’s ADA compliance guarantees that it meets all legal standards. Some WordPress accessibility plugins can help you fulfill ADA compliance standards by optimizing online content accessibility guidelines (WCAG) by providing you with themes and plugins to improve the quality of your content.
Progressive web apps can build up for your website or blog if you use WordPress. We’ll explain to you how to accomplish it step by step in this guide. You’ll learn how to integrate a progressive web application and the Americans with Disabilities Act into your WordPress website in this article.
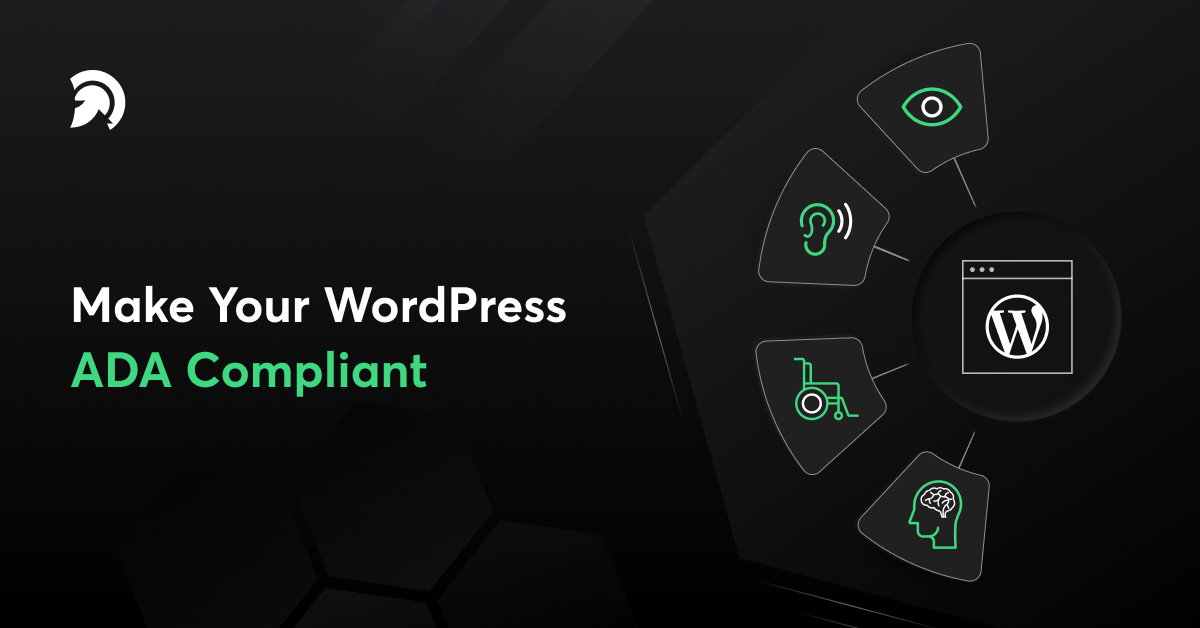
WordPress ADA Compliance
Making your website ADA compliant involves making it user-friendly enough for individuals with disabilities and special needs to utilize it without difficulty. You can also hire dedicated WordPress Development Experts to make your WordPress site ADA compliant. The Americans with Disabilities Act (ADA) is a federal law that protects people with disabilities. It is federal legislation that protects disabled persons in the United States. You must ensure that your WordPress site complies with the Americans with Disabilities Act (ADA) so that individuals with disabilities may benefit from your services or online content. If you do not fulfill the required standard, you may face significant legal consequences.
To make your WordPress website ADA accessible, you’ll need some basic ADA compliance checks. It can be used in two ways. You may run an ADA compliance scan over your whole WordPress website. You may also run the ADA compliance checker anytime you add new information to your website. The following are some ADA-compliant website tweaks.
To make your WordPress ADA compliant-

-
No Readability Issue in Content
WordPress website owners experience the most common problem because their contents are not accessible to individuals with impairments. You may comply with the Americans with Disabilities Act (ADA) by making your WordPress content eligible for users. Make sure each paragraph includes just 8-10 lines of text. Adjust the contrast of the text to ensure that it is not hard to read. You may use the WordPress accessible plugin’s contrast tester to check it.
-
ALT Text to Image
ALT text must add to the image. Alt-text can alternatively be referred to as “alt tags” or “alt descriptions.” When an image on a website fails to load, the textual explanation of the text shows on the screen. In compliance with WordPress’s ADA compliance standards, this is critical. The alt text on your website images can aid with search engine optimization in this way. Web content accessibility rules demand that your website have features that satisfy the requirements of all diverse groups.
-
CTA for Screen Readers
For screen readers, use clear calls to action. It’s recommended to replace the call to action link wording with something more user-friendly. It can also help with ADA compliance since screen readers will have an easier time understanding your website. You won’t be tagged for non-ADA compliance if you follow these key steps and follow the web content accessibility guidelines (WCAG).
-
Web Accessibility Increases
As it provides a great user experience, web accessibility boosts the ratio of visitors to your website. Many websites are inaccessible to everyone and do not comply with the Americans with Disabilities Act. Many people suffer from visual, hearing, cognitive, and learning impairments. When a website’s non-compliant concerns are resolved, it becomes easier for consumers to accept the website’s services. It also enhances the chances of increased site traffic.
-
Higher Conversion Rate
If your website is not ADA-compliant, it will be difficult for people with disabilities to purchase your items. They will find it challenging to communicate with you if your website is not ADA-compliant. You have a better chance of getting more conversions if you utilize WordPress Accessibility plugins to detect faults in your website and make it ADA-compliant.
-
Improves SEO Strategy
When you convert your WordPress website ADA compliant, it improves its functionality and accessibility. It improves your website’s SEO and helps you get higher organic rankings. Keyword relevance, headers, titles, video captions, alt text, & H1 tags may all help your website rank higher, and WordPress Accessibility Plugins make it simpler.
-
No Penalties or ADA Lawsuits
You may avoid penalties and litigation expenses by complying with the Americans with Disabilities Act. You may avoid these lawsuits by ensuring that your WordPress website complies with the Americans with Disabilities Act (ADA) and is accessible to all types of people.
PWA(Progressive Web Application) For WP
Progressive web apps (PWAs) are a sort of technology that allows consumers to view your site even if they don’t have access to the internet. It loads quickly and has the appearance of a native mobile app. PWAs are very secure because even if a user’s connection fails, they will never see a dead screen.
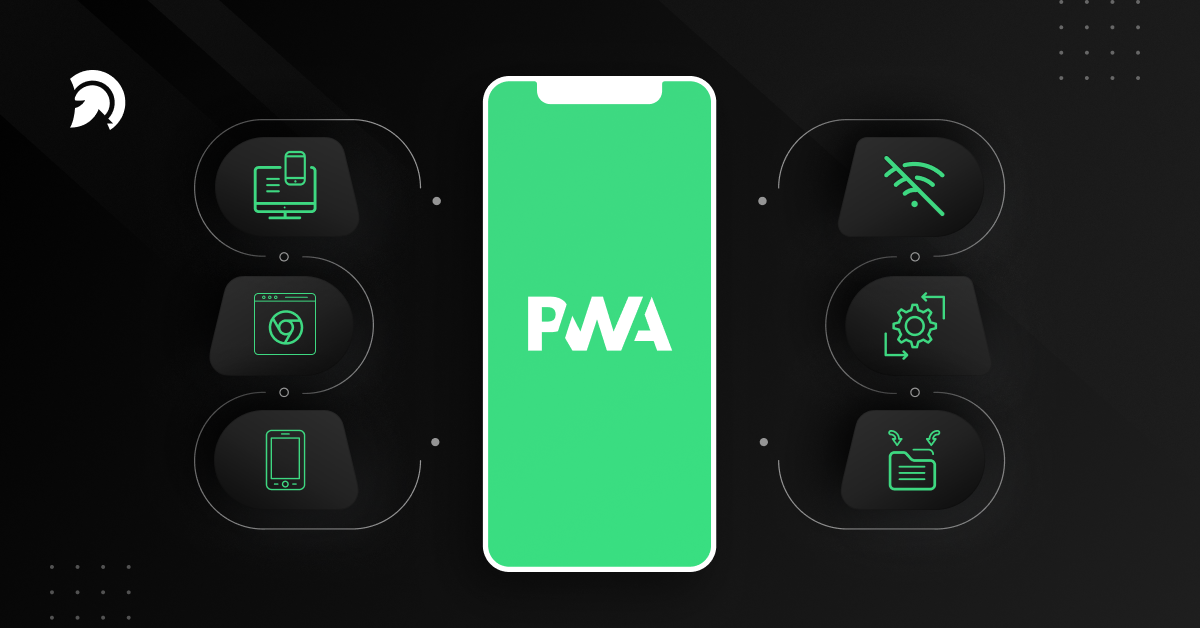
Because they are efficient and compelling, they provide a better user experience. It also includes useful features like custom “add to home screen” triggers, push notifications, native UX, and cache expiring options.
PWA for WP is a free WordPress plugin that turns your blog or website into a progressive web app. It optimizes your website for you automatically, so you don’t have to. PWA for WordPress is still under active development, so more features are on the way.
Setup Progressive Web Application Easily
Step 1: Install PWA For WP
PWA for WP may be found in your WordPress dashboard if you search for it. Alternatively, you may manually download the plugin from the WordPress plugin repository. Once you’ve found it, click the install button and then the activate button.
Click on the PWA settings after you’ve activated the plugin. To begin, press the PWA button. Then, to turn the plugin settings on and save them, click the status checkbox. If you’re still using HTTP, upgrade to HTTPS. HTTPS is secure and builds confidence.
You don’t have to configure anything because PWA for WP works right out of the box; you may visit your site as a PWA straight now. You may, however, change the settings to make your sites seem more like your brand.
Step 2: How To Customize The Look Of Your PWA Pages
To change the theme color, go to PWA settings and select the design option. You may customize your app icon and splash screen icon in the general settings section. When consumers open your application, the splash screen is the first picture they see.
Step 3: Setup Pre Caching
Due to pre-caching, PWAs load incredibly quickly. The plugin builds a cache file for the number of articles you pick, which speeds up the app’s loading time even when there is no internet connection.
Pre-caching may be enabled by going to the PWA plugin settings and selecting PreCaching options. Select automated, input the post count (ten is a considerable amount) and click the Save button.
When a user visits your website on a mobile, a “add to home screen button” will appear. Your website may now be served as a progressive web application. You should also clean your cache following activating the plugin so that new visitors can see the changes instantly.
Final Thought
While these measures are explanatory, there are a few other aspects to consider when it comes to the actual development process. Start integrating ADA (American Disability Act) and PWA (progressive web applications) into your WordPress website instead of trying your hand at the stages and getting a different outcome since you weren’t sure of the between-the-line aspects. Contact us for wordpress development services to integrate PWA and ADA to your WordPress websites.